Official Sites:
Promo site
Car product info
Facebook Page
Downloads:
Alternative Editable Setup Sheet: Arno from PetitRC sent me the setup sheet for this write up, a great job as usual clink the link to see it
AM-410116-BG Allen Wrench 1.5 X 100mm Black Golden
AM-410121-BG Allen Wrench 2.0 X 100mm Black Golden
AM-410126-BG Allen Wrench 2.5 X 100mm Black Golden
AM-410131-BG Allen Wrench 3.0 X 100mm Black Golden
AM-450145-BG Nut Driver 4.5 X 100mm Black Golden
AM-450150-BG Nut Driver 5.0 X 100mm Black Golden
AM-450155-BG Nut Driver 5.5 X 100mm Black Golden
AM-450170-BG Nut Driver 7.0 X 100mm Black Golden
AM-190008 TURNBUCKLE WRENCH 3MM – V2
AM-190025-P MULTI SHOCK-CLAMP V2
Optional:
AM-171063 Multi Alu Case For Screws (120X80X18MM) Black Golden
AM-171053 Tools Base Black Golden
AM-500902 Power Tool Tip Set 4 Pieces With Plastic Case (Metric)
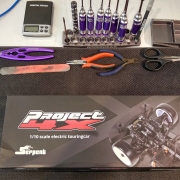
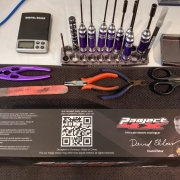
Other tools I use:
Shock Pliers
Exacto Knife
Fingernail Board (For Smoothing Plastics, grab the wifes 🙂 )
Digital Calipers
Needle Nose Pliers
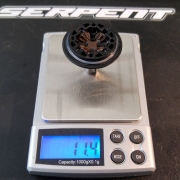
Digital Scales
Chemicals:
Loctite
Grease
CA Glue
Development Story:
Makes very interesting reading just click the image to read
How to videos by David Ehrbar: (all 4 parts so far)
The Build:
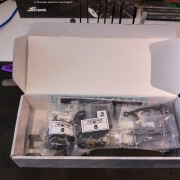
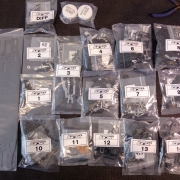
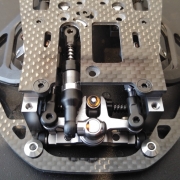
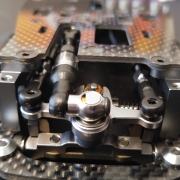
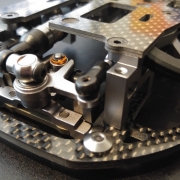
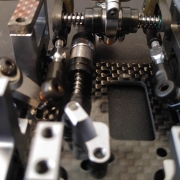
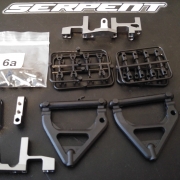
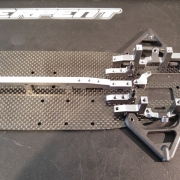
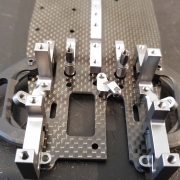
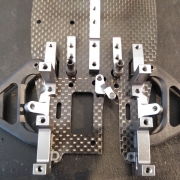
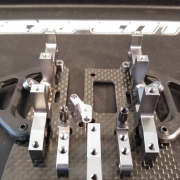
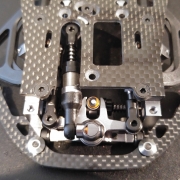
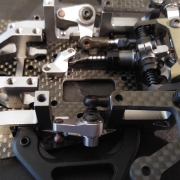
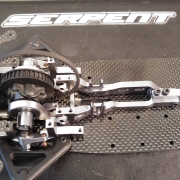
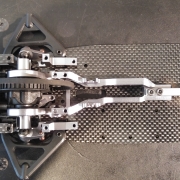
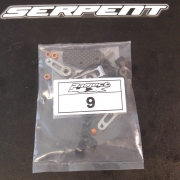
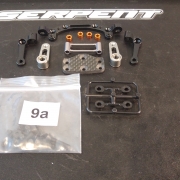
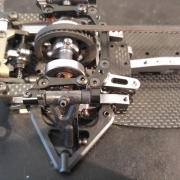
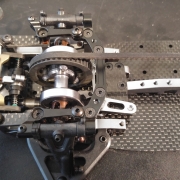
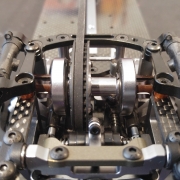
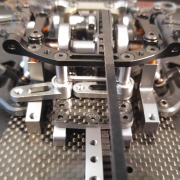
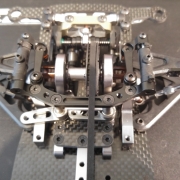
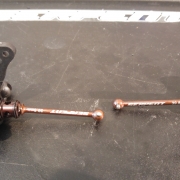
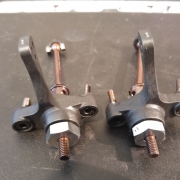
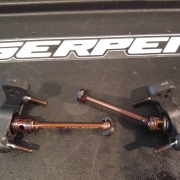
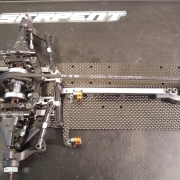
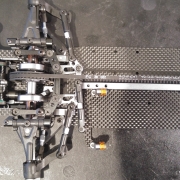
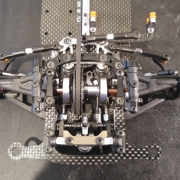
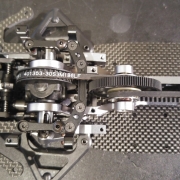
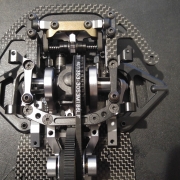
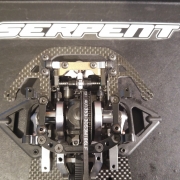
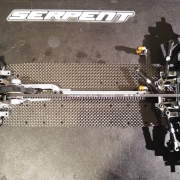
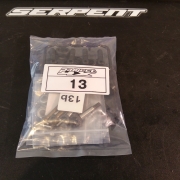
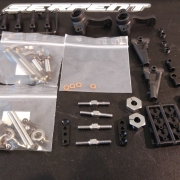
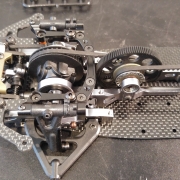
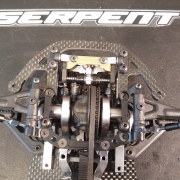
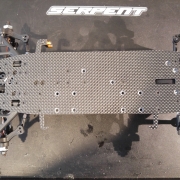
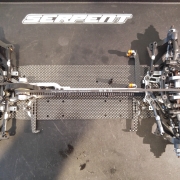
When Serpent asked me to build the new Serpent Project 4X I jumped at the chance. The car is so innovative and quality was so awesome.
I did not have any issues whilst building so I will list the pros and cons below
Verdict:
Pros: Everything was perfect for me.
Cons: Being picky here as nothing wrong, I wish the manual was printed as the new ones are excellent, still they did give a nice Serpent branded USB with manual and setups on it. Also the tiny e-clip that fits on the car needs to have spares. That’s it.
Tips from David Ehrbar:
The designer of the car sent me some tips for the build so I will share them below plus any I found while building.
Step 0: Download the latest manual from the Serpent site
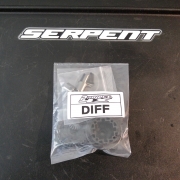
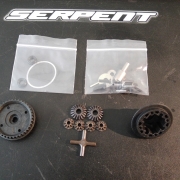
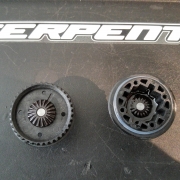
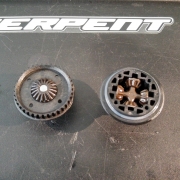
Step 1: (Me) Apply diff oil to all parts including o rings before assembly.
Step 5: (David) Do not overtighten the screws.
Step 5: (Me) Tighten screws diagonally to each other so you apply even pressure while doing the screws.
Step 7/8: (David) Use sidecutters to grap the rod at the end of the thread.
Step 8: (Me) You get round flat containers for the diff and shock oil, whish they had ben normal bottles, just let oil drip down shock shaft into shock body this is the cleanest way.
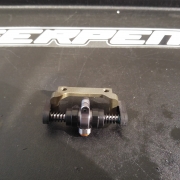
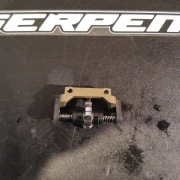
Step 10: (David) Use the clamp from the rolldamper (bag2) to hold the shockhousing of the heavedamper temporarily when you tighten the endcap with the integrated balljoint (do not use pliers to hold the shockhousing).
Step 10: (Vex) Actually credit to Vex Vegaz from Facebook for this one. Make sure you tighten body all the way, there should be no gap when fully tight against the built in ridge on the shock body.
Step 11: (Me) Do not overtighten the clamp as it could damage the body.
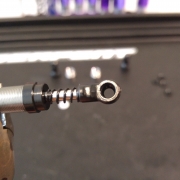
Step 15: (David) be careful when attaching the E-clip, it easily bends. (Me) Note to Serpent please add a few spare ones.
Step 17: (David) Please follow instruction in manual carefully.
Step 19: (David) Pay attention to the correct positioning. There are 2 different kinds of inserts. One is for high/low rollcenter (low is not used, as the arm touches the chassis), and the medium low position is default (this insert is also eccentric). Many people got that wrong.
Step 26: (David) Glue the special set screw into the height adjuster, so it stays in place when the shock is removed.
Step 37: (David) Using some grease on the pins prevents them from falling out during installation.
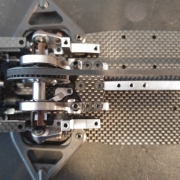
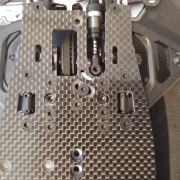
Step 41: (David) If the graphite plate does not fit, loosen all the screws on the lower alu parts first. (Me note) There are 12 screws to loosen, then once the plate goes in do the screws back up again.
Step 45/56: (David) Tighten the M3x5 screw strongly, and make sure the pivotball can not rotate after tightening.
Step 46/57: (David) This is initial setting. Make sure the trackrods left to right are the same length, but you will adjust them later, if you need to make bigger changes to the ride height
Step 68: (David) Make a small chamfer (with a cutter), to prevent the battery tape from being cut by sharp graphite edges
Build Video Gallery:
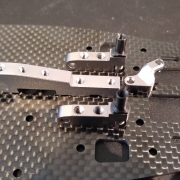
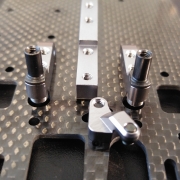
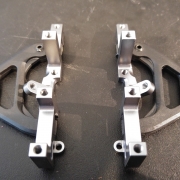
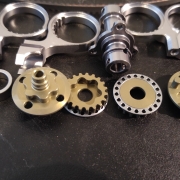
Build Gallery:


