![]()
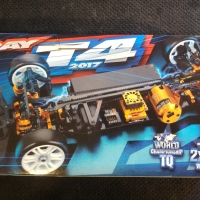
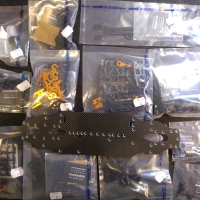
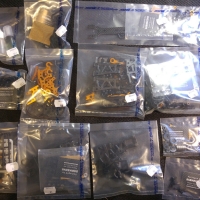
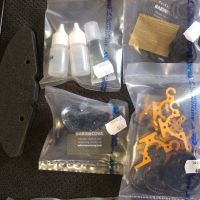
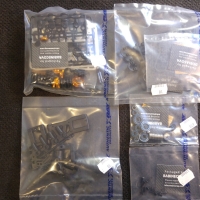
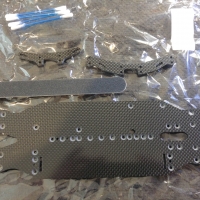
The new Xray T4 has again been improved for 2017 and the new features are listed below.
The official information page at TeamXray website is here
2017 All-new Features
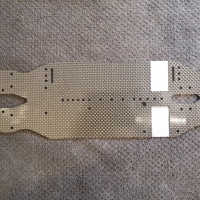
- All-new chassis design
- All-new In-Line Flex adjustment
- All-new servo mount system
- All-new floating steering system
- All-new Ackermann positions
- All-new graphite arms
- All-new layshaft bulkhead
- All-new motor mount bulkhead
- All-new motor mount plate
- All-new bumper
- Improved traction
- Improved steering characteristics
I am hoping to compete in the Turkish (TORC) stock series, we use Hobbywing Just stock ESC and Muchmore ETS 13.5t motors and the first race is at the amazing Izmir EFMOD facility here in Turkey.
![]()
I will use the standard setup for Asphalt which is located on the Team Xray website for download here
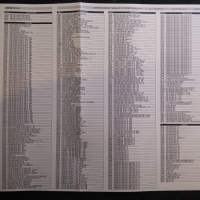
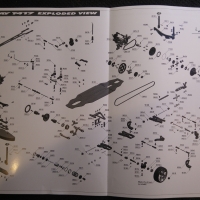
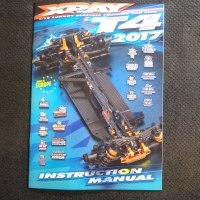
The manual is also there so grab that while you are there. The reason I use official links and setups is that when they change them in anyway you will always get the latest version.
I will add specific setup changes to the car as we go which will be for my first race.
![]()
Thanks to Umut Turkay at Team-NCRC for the sponsored build, he is the owner of the Exclusive distributorship of Xray cars in Turkey and all round nice guy.
![]()
1.5mm Allen Driver
2mm Allen Driver
3mm Allen Driver
5.5mm Nut Driver
7mm Nut Driver
4mm Turnbuckle Wrench
Shock Pliers
Body Reamer
Digital Calipers
Body Scissors
Side Cutters
Combination Pliers
Hobby Knife
Optional:
I use a Nail file board for cleaning edges of plastics to get rid of those bits of flashing left after removing parts from the plastic tree
![]()
![]()
As I am racing stock class as per ETS I will use the following
Hobbywing ESC Just Stock 80a
Muchmore ETS 13.5t Motor
Sanwa ERB 871 Servo
100t Spur gear
42t pinion
![]()
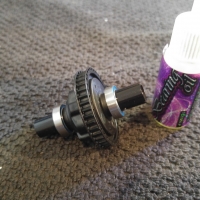
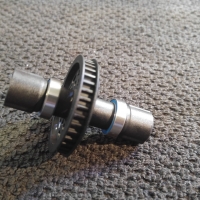
General: I used the Hudy bearing oil on all bearings as it makes a great difference, get yourself some #106230 bearing oil ready.
Page 6: I found the pin on step 4 a little tight to get in the hole just be a little forceful and it will go in ok. Oil all parts as detailed in the manual.
Page 8: When you are building the solid front axle put the bearing hubs on before final assembly, these can be found in bag number 2, if you don’t do this now you will have to unscrew driveshaft adapters to fit them later.
Page 11: I used belt tension settings for high grip asphalt as my first race will be on the very high grip surface at Izmir track in Turkey, I also loosened the belts a bit as they were quite tight. Once I have run a few laps I will re tension them again if needed.
Page 14 and 15: It is very important to get the wishbones to move freely, I spent a bit of time with my arm reamer to get them the way they should be. See small video of finished movement.
Page 17: Whilst building the servo saver I put the sprung clips together on the main body not the smaller one as it was a lot easier for me to do it this way. Also I am setting my car with the Floating steering arm mounting (Alternative 2) So put the assembly to one side if you do the same. The reason I did this was the manual states it would be easier to drive and I do not like an aggressive car.
Page 19: Be careful and measure the grub screws in all steps as there is a mixture of lengths here, use the smallest ones for the driveshaft assembly.
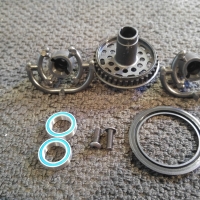
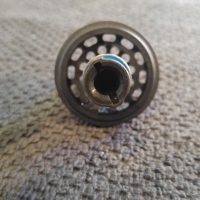
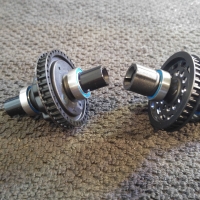
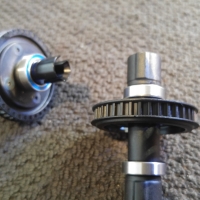
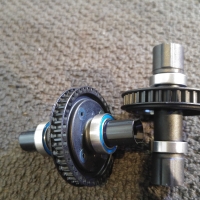
I had a real problem with the front driveshafts where the bushing goes into the driveshafts and coupling they were a very tight fit, there was no free movement. So I used an old arm reamer and put through the driveshaft holes, it was the coating that was preventing the free movement. See picture below. Rest assured once this has been done free movement is perfect.

Page 20: Just a small error to note in the manual, the left hub is marked as L4 and not 4L
Page 26: Just a small error again in the manual, it states that 3 and 4 hole pistons are 1.1, 1.2 and 1.3 they are in fact mmarked as 1.0, 1.1 and 1.2.
Page 27: I put the shock tops together with foam and bladder and screwed onto the shock body to sit it in place properly, then removed and put to one side ready for final assembly later.
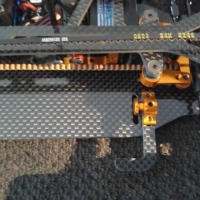
Page 35: I did not like the fact there was no battery stop in the kit and when you place a battery on it could slide and hit the belt. So my cure was to place a 3mm shim and a button head screw into the servo orange alu mount, this works perfectly as it still gives a little movement side to side on the battery but stops it hitting. See pictures below.
I am waiting for the body and Motor to arrive so I will update the page here with my electrics setup and body etc later.
![]()
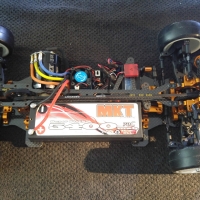
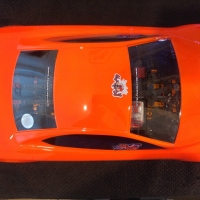
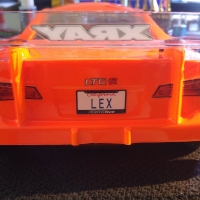
I have now finished the electrics/body and fitted some options and needed parts for stock class racing
Fitted #293501 servo arm with 9mm (#302201) spacer to get similar exponential on the steering
Fitted #306191 T4 graphite + alu fully adjustable battery holder. This system allows the weight biase to be adjusted forwards and backwards, also sideways so a good tuning aid.
Fitted correct spur (100t 64p) and pinion (42t 64p) for stock class.
Fitted #302525 alu dual servo saver arm
Fitted #303804 rear 1.4mm anti rollbar
Only one thing left to fit and it has been ordered, I found the body needs adjusting height wise so I ordered #301351 x 2 sets alu adjustable body post stops which enables body height fine adjustment.
The car was a pleasure to build, this is only the second Xray car I have built, the other being the XB2 last year. The manuals are very helpful, well illustrated and I love the way they explain what each setting and options actually change on the cars characteristics.
I would like to make a shout out to Umut Turkay not only for supplying the car but for his continued support to all RC racers in Turkey and Northern Cyprus, it is not an easy marketplace here and he is so helpful to everyone, without people like Umut there would be no RC.
I will be racing as stated in the stock class of the Turkish TORC series and hope to put up some race reports and any findings with the car as I go.
See you trackside and remember JUST ENJOY YOURSELF!!
![]()
![]()


